Uploading favicons
You can automatically upload favicons through the admin area.
Note
For a multistore case, you need to repeat this upload procedure for each store.
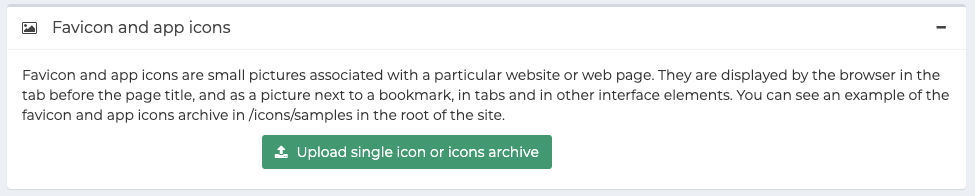
To upload favicons go to Configuration → Settings → General settings. The Favicon and app icons panel is displayed:
Click the green button Upload single icon or icons archive, the file selection dialog will be opened:
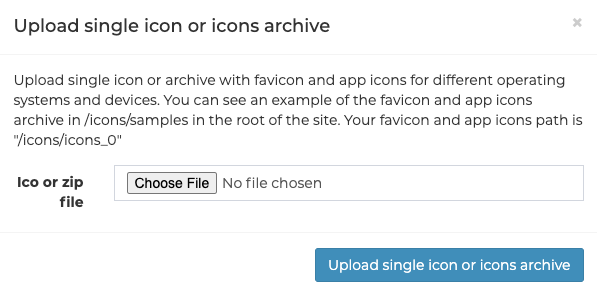
Browse your computer for the favicon file (it vary depends on the store and the virtual directory). For example:
/icons/icons_0.There are several options for what to upload, depending on how friendly your site favicons should be for different devices:
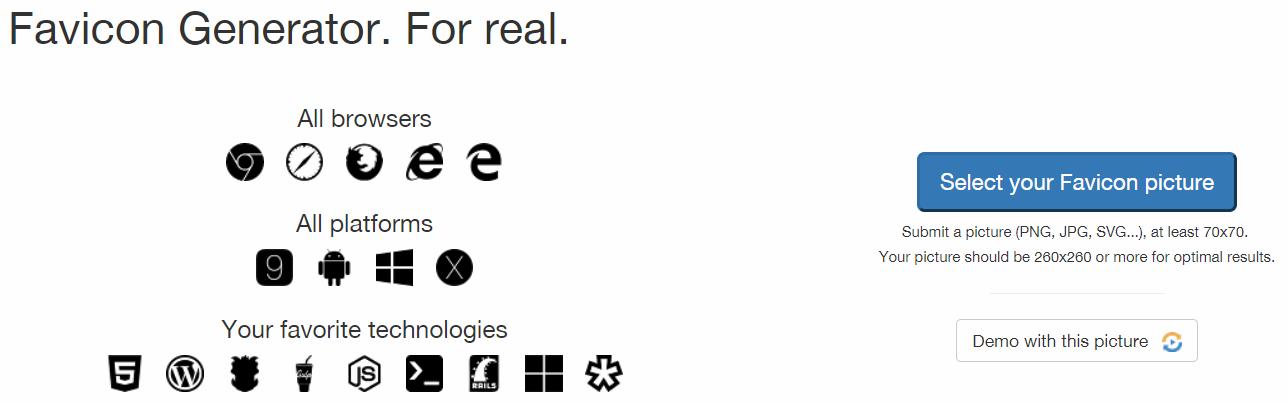
The most complete option is to use one of the favicon generators. In this manual, we will show an example of using a RealFaviconGenerator. Thanks to this service, uploading the full favicon package will be carried out in a few clicks.
Go to this generator main page where you will be invited to choose a picture for the favicon
After selecting a picture and clicking Continue with this picture, you will be redirected to the next page. Here you can adjust the display settings of favicons for specific devices and applications - iOS Web Clip, Android Chrome, Windows Metro, macOS Safari, etc. The service will automatically show display examples. You can customize them to your needs or leave the default ones.
At the bottom of the same page you can find the Favicon Generator Options panel.
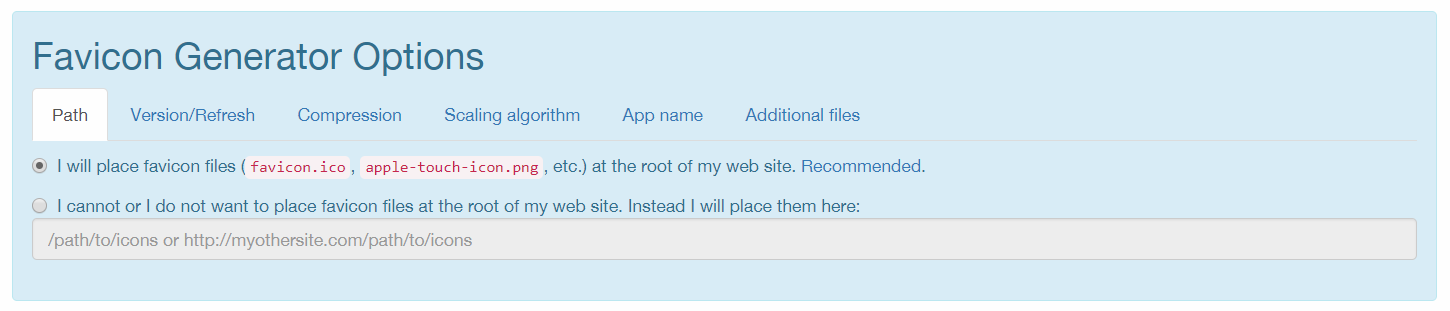
On this section, you must set certain settings. On the Path tab, select the option
I cannot or I do not want to place favicon files at the root of my web site. Instead I will place them hereand specify the path from the step 2.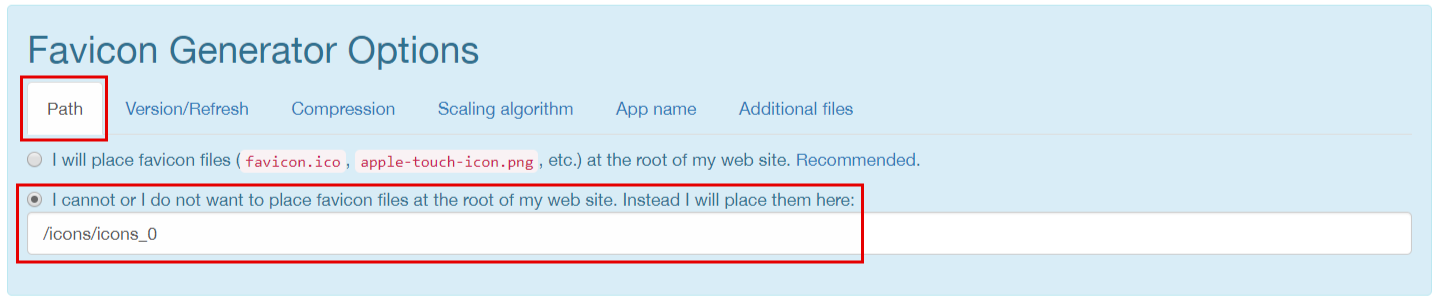
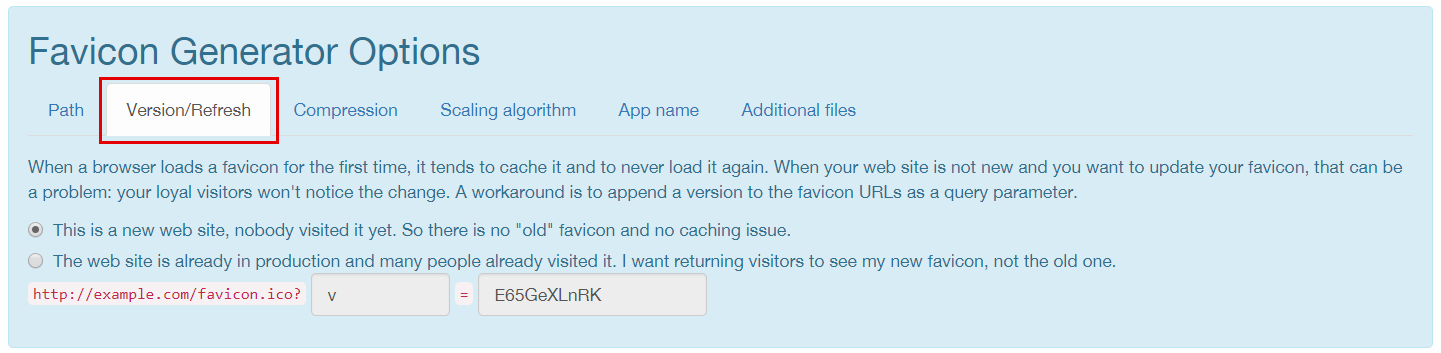
On the Version/Refresh tab, select the option depending on whether your site is already in production. The setting description will help you with this.
On the Additional fields tab it is necessary to check the option to generate an html file in the package.

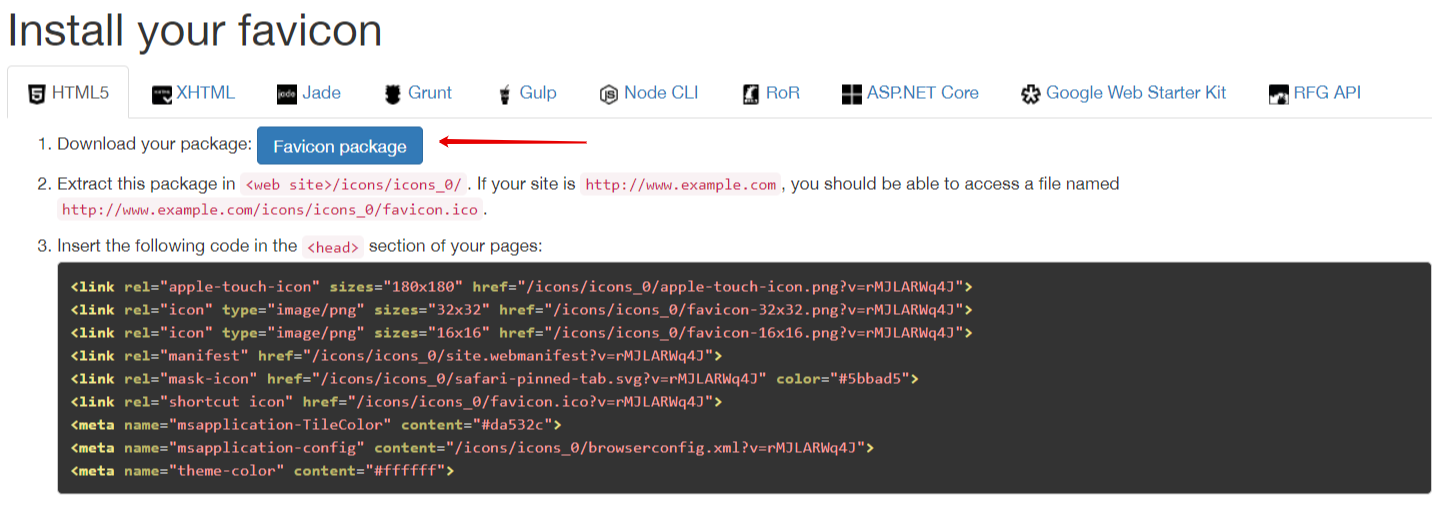
Now all settings are set, click the button to generate.

Get your favicon package.
The simplest option is to use only favicon.ico file, that has been successfully used on many sites for a long time, until devices with different screen resolutions appeared.
Find a sample favicon package that is located in
wwwroot/icons/samples/directory and copy it.In the new package delete all files except favicon.ico and html_code.html.
Replace in this package the file favicon.ico with your new favicon.
Edit the html_code.html file. Leave the only one line there:
<link rel="shortcut icon" href="/icons/icons_0/favicon.ico">, assuming that/icons/icons_0is the path from the step 2.Save these two files into a package. Your favicon package is ready.
An intermediate option is using the full favicon package without a generator.
Find a sample favicon package that is located in
wwwroot/icons/samples/directory and copy it.Replace the pictures in the new package with your own ones taking into account the original sizes.
Edit the html_code.html file, replace all entries of the
/icons/icons_0with the path that was saved on the step 2.Save this package. Your favicon package is ready.
Return back to the admin area with a prepared favicon package to upload. Select the desired file and click Upload icons archive.
Ensure your package is successfully uploaded.

To see the new favicon on the site you should clear cache in the admin area and in the browser then reload the page.
Tip
To create a favicon package, you can use any generators, third-party services, or do it manually. The only requirement is the existence of the html_code.html file with the html code, which will be placed in the <head> element of the site pages.